Taking Notes
One of my least favorite tedious studio tasks is taking careful notes. You’ll hear it from most glass artists “Be sure to write down your kiln schedules and take before and after pictures.” “Record your glass type and number for each project.” But it’s oh, so tedious! In the midst of creating, who wants to stop and take notes?
But you know what? All of those glass artists are right.
I made a very cool vitrigraph project that failed on the last firing. Huge bubbles that ruined the design. I know what happened (in my excitement I was rushing), and I was determined to try again. But I was so disappointed with the failure that I couldn’t seem to revisit the project without remorse.
Finally, months later, I was ready.
But after all this time I couldn’t remember which blue I used. Was it midnight blue transparent or deep royal blue? Or something else?
Notes to the rescue!
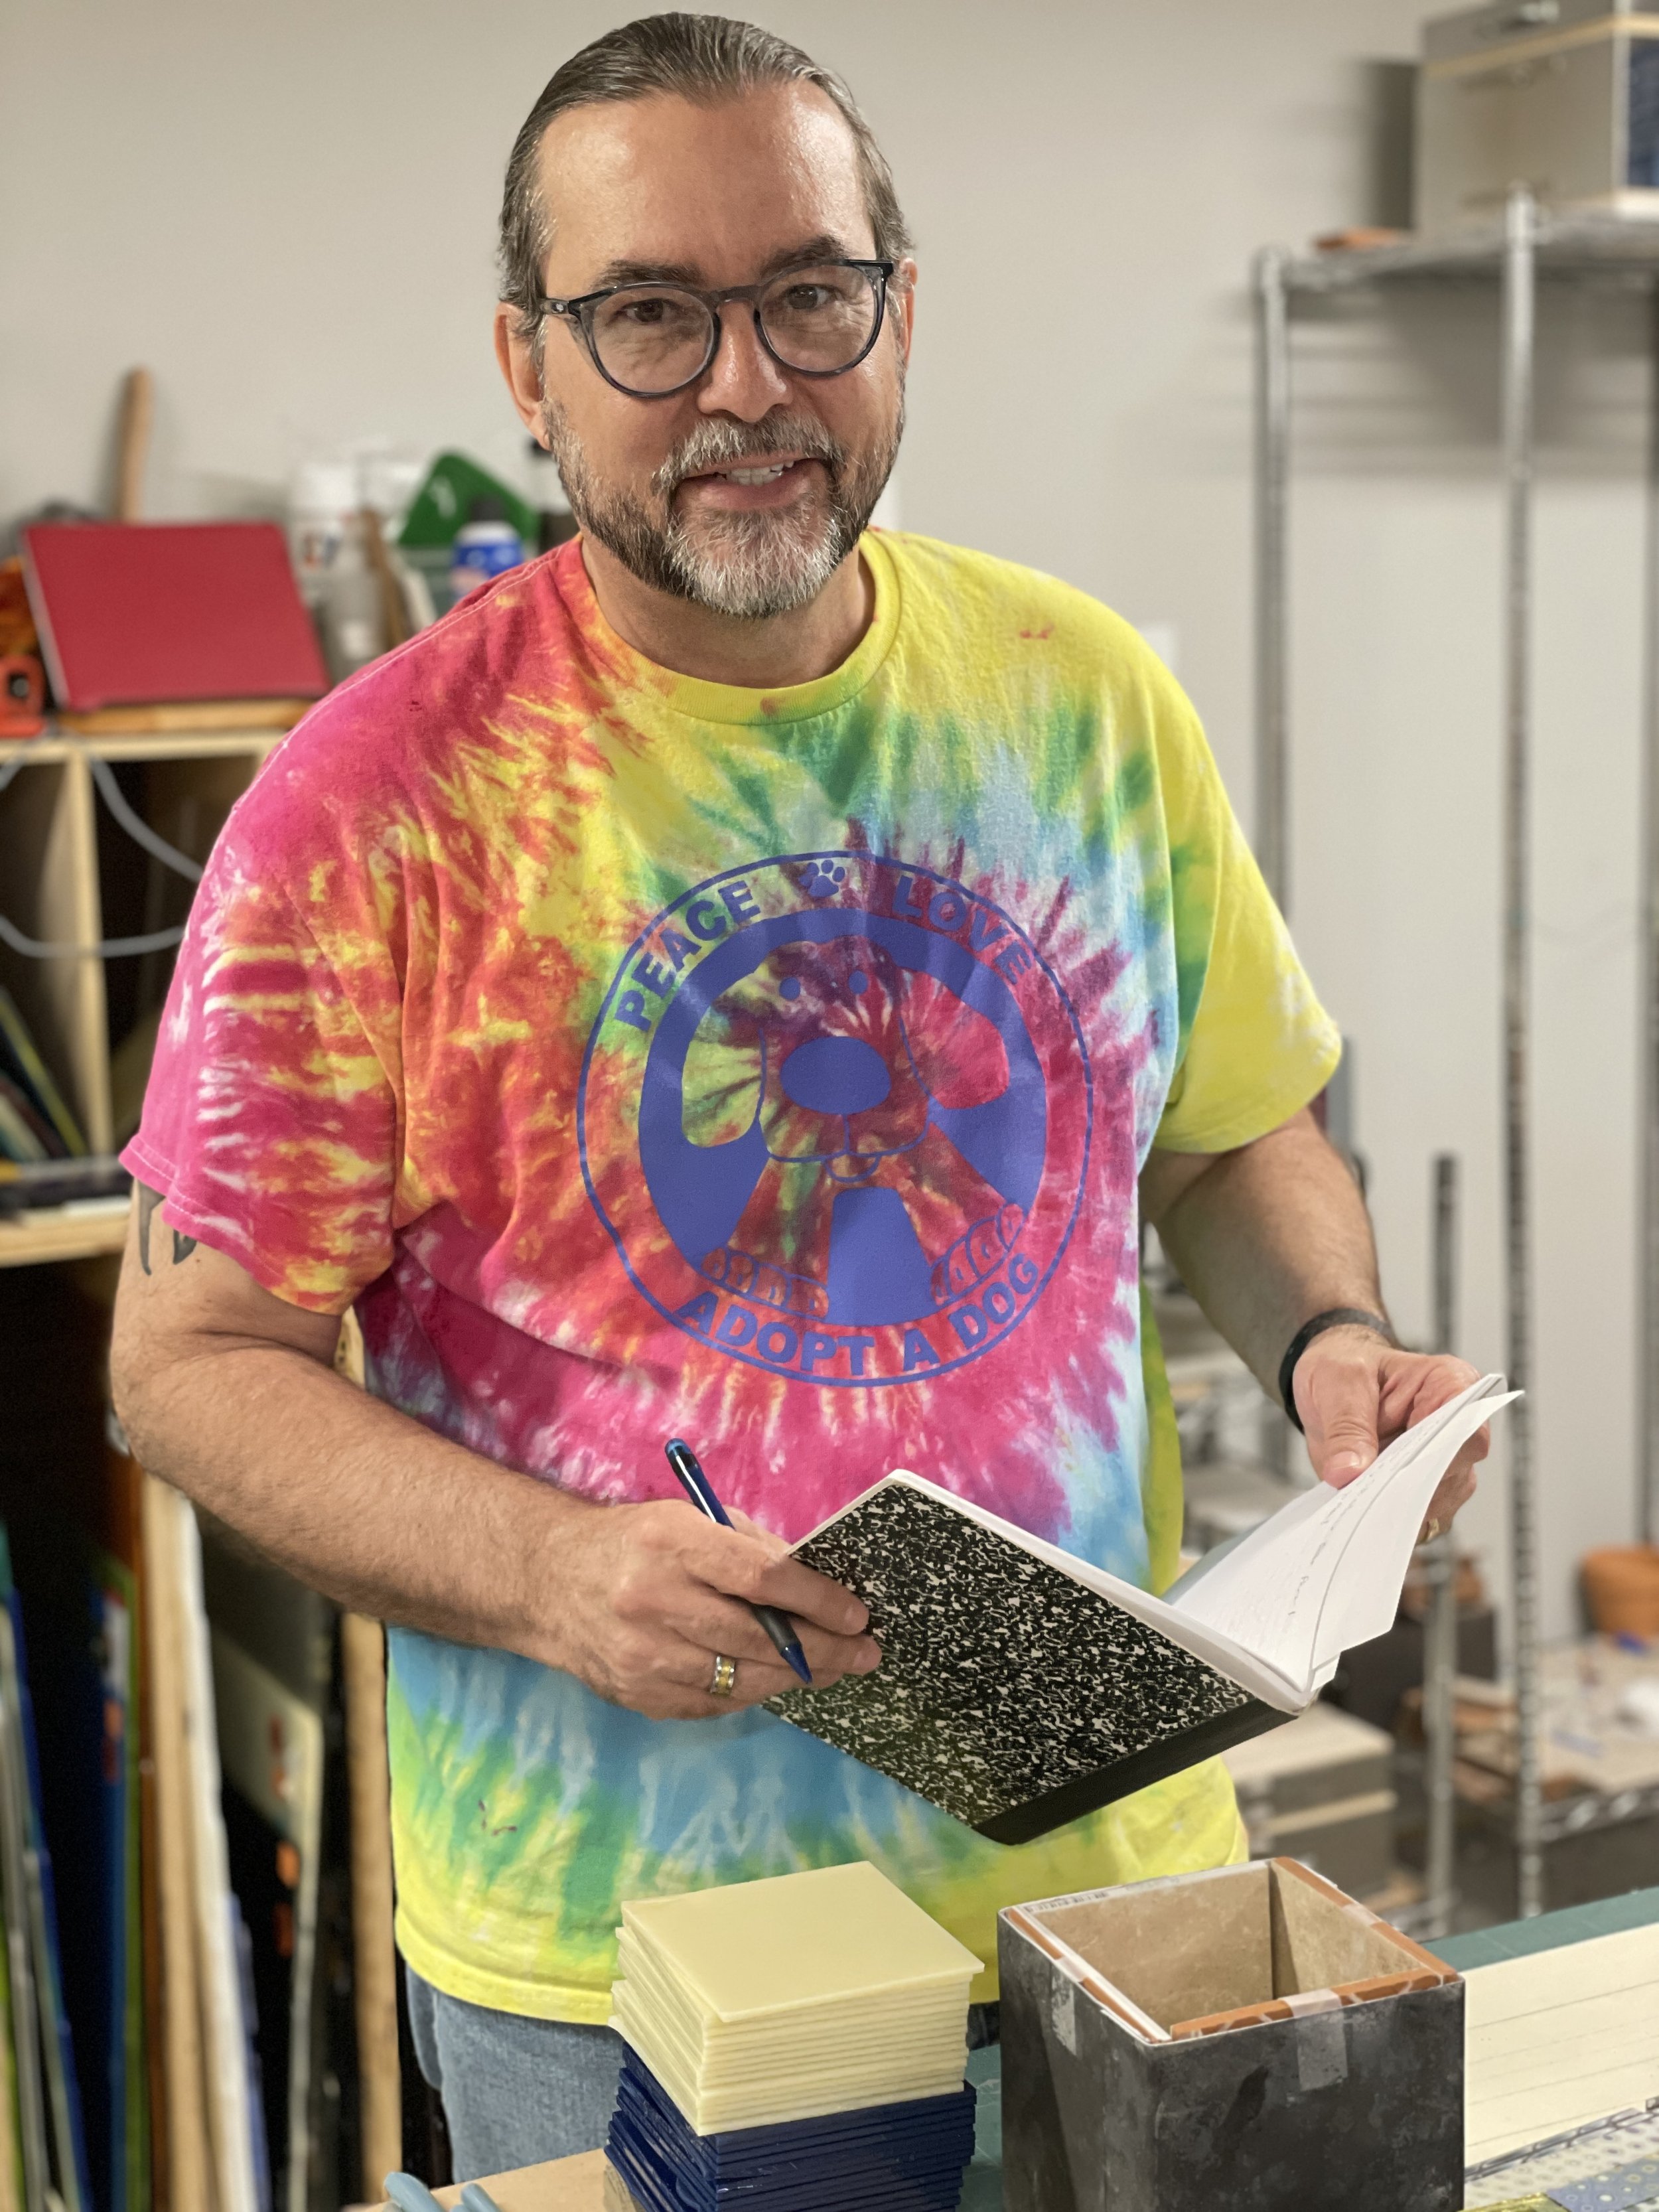
For each vitrigraph pot I write down the glass type/number, the number of layers, and any other pertinent details. Then I take a picture of the page next to the stack using my phone and the image auto-uploads to the cloud. Now I have a paper and digital record, just in case I want to re-create a project, successful or failed.
How do you keep records?
What? You don’t?
It’s time to start.