
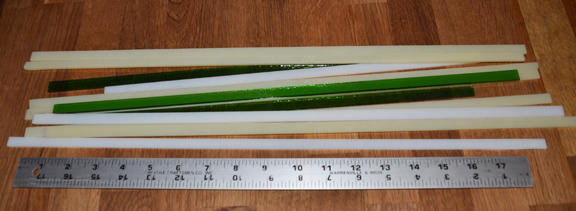
Cutting Strips
I find cutting strips of glass to be very meditative. I don't know if it's the sound the glass makes when being scored, or if it's the repetitious and almost mechanical nature of the task, but I like it! There are many ways to cut your strips and the way I do it might not be right for you, but these tips have worked for me.
Tools that you'll need are:
- Glass
- Ruler or favorite measuring device
- Sharpie or some type of marking device
- Straight edge
- Glass cutter
- Running pliers
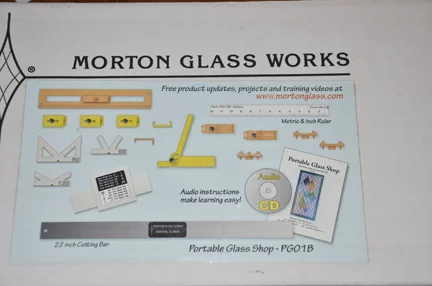
Morton
Before I found the Morton Glass Works Portable Glass Shop I simply measured the glass, lined up a straight edge, scored the glass, and then ran the score by hand if the glass was large enough, or with running pliers if it was too thin. Now I use the Morton system every time I cut strips. It allows me to measure accurately, and score perfectly straight lines.
First I decide the width I will need for my strips and that determines how much glass I'm going to need. Let's say I decide to make my strips 1/4" wide and that my project is a simple 2 color 8" x 8" plate. I'll need two 8" x 8" sheets of glass.
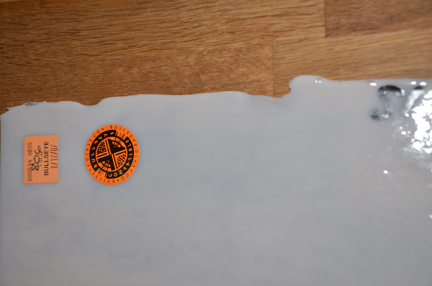
Organic Edge
Tip 1: I use only Bullseye glass (you can probably ignore this tip if you use something else). Because the edges of Bullseye are, well, let's call them "organic", they aren't of equal thickness and it's difficult to measure a straight line. I like to trim off the organic edges and use them in other projects like pot melts or screen melts.
Tip 2: When breaking a score, glass wants to follow the path of least resistance. If you're trying to cut a 1/4" strip from a 3" wide piece of glass, more often than not the glass won't follow the score line and it will break far short of the end, running away from the score line towards the thinner less resistant path. I've found that by cutting my glass in half at each step, my strip cutting is much more successful. With an 8" x 8" piece I'll make my first cut at the middle at 4" leaving me with 2 pieces of glass. The next cut will be at 2" leaving 4 pieces of glass. Then at 1", 1/2" and finally 1/4".
Tip 3: When the glass is starting to get down to about 1" or less in width, run your cuts gently and don't be afraid to take your time and run from both ends. Line up your score with your running pliers, making sure that the guide line on your pliers is aimed straight down on the score line, and gently squeeze. I don't try to run the score all at once. If it happens to work out that way all the better but I squeeze just enough to get the run started, then turn the glass around and finish the run from the other end.